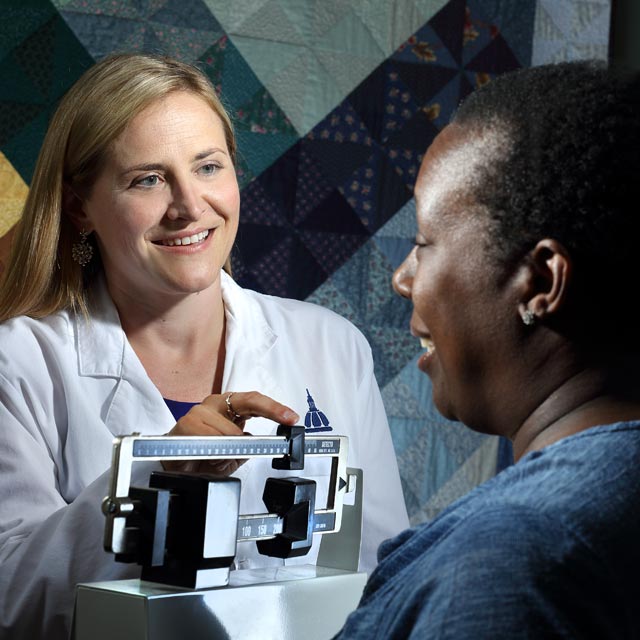
Notes on the use of GIM Poster and Slide Templates
POSTER TEMPLATE
- It is a Powerpoint slide; you can cut, paste, move, etc as per usual.
- Powerpoint isn’t designed to handle typical scientific posters in the range of 7 ft x 4 ft. This template is custom-formatted in Powerpoint for 42 inches (wide) x 21 inches (high). (To see the size, click File, then Page Setup).
- When you send for printing (e.g., http://www.postersession.com/setup.html), ask for it to be double-sized, so you’ll get a poster that’s 84 inches (wide) x 42 inches (high). You’ll come out with posters the size that Diane has hanging on the walls outside her office.
- To see the whole poster on a single screen in Powerpoint, you’ll have to specify 25% size. At this size, it’s hard to see the smallest font. However, the smallest font is currently pegged at 18 point—big enough to see from 4 ft away in a poster session. To see the actual size of type and figures on the final poster, switch to 200% view. To edit the text, you might need to use 50% or 100% view. The title fonts are all very big (40+). If you need to reduce to fit multiple authors, multiple affliliations, etc, you have room to reduce. Just remember that your text font is 18, so keep the affiliations and authors > 18 and the main title bigger than that.
- Both logos are hish-resolution and should print out fine. Under-pixelated photos and logos are a common problem in posters, so check this out before you submit. If you have another logo you’d like to use in place of JHMedicine on the right, please do so (e.g. study logo). The banner might look unbalanced with 3 logos or too cluttered with 4 logos, but use your judgment.
- It is recommended that you keep a white field behind the logos on the banner, since the GIM shield and JHMedicine logos are set against a white square that only blends in against white.
- The tables and figures in the Results section are purely to give you an idea of what might fit. Don’t read anything into the color schemes or styles. Just make your best figures, then cut and paste.
- There’s plenty of extra room in the first column, even with the little advertisement for Hopkins GIM on the bottom. That gives you some options, including:
a) start the column with an Abstract (you might want to dip down to 14 point font just for the Abstract if you do);
b) if your Methods are longer than one column, maybe start it at the bottom of column 1;
c) add other info about the project or your team;
d) add a photograph related to your project setting or some aspect of data collection; or just leave the bottom blank. - Consider that, in a crowded poster session, it can be hard for the reader to see the bottom of the poster, since they can get pushed up fairly close. You don’t want anything important too far down below eye level. Ditto for the results: try to put your most important graph up high, just below the banner. (For more tips on Posters, see the SGIM website: http://www.sgim.org/am07/PosterTips.pdf).
SLIDES FOR ORAL PRESENTATIONS
- We haven’t developed an official Hopkins GIM format, but on the title slide, please:
a) show the GIM Logo; and
b) include the line “Visit Hopkins GIM at http://www.hopkinsmedicine.org/gim). - Suggestion: Stick with black/blue lettering on a white field. This hides the white field on many logos, makes downloaded figures and tables appear to fit in, and is easier to see in a room that still has some lights on.


